 By Ben Lewis, KNX Consultants.
This three-part series covers the practicalities of controlling the lighting and heating in our headquarters, and monitoring our energy consumption, all using KNX. The building is a 17th-century Grade II listed former dovecote, and is located in Staunton, Gloucestershire, UK.

In part 1, we looked at the installation of KNX-based lighting, and ended at the point when the heating actuators were to be added and a method had to be contrived to make the KNX connection to a much less accessible location. At this time, hopes remained high that we would be able to thread a cable around behind the studwork in a similar way to that in phase 1.

Regrettably, after many attempts and much careful consideration, our hopes were dashed. The thickness of insulation within the studwork that the developers had included when renovating the building was such that it made it difficult to thread reliably over any distance. This, coupled with the fact that the intricate wall construction – containing the former pigeons roosts – made the task impossible without stripping back the wall linings to get behind. This would have been exceedingly disruptive and very costly.
Controlling the Power to the Radiators
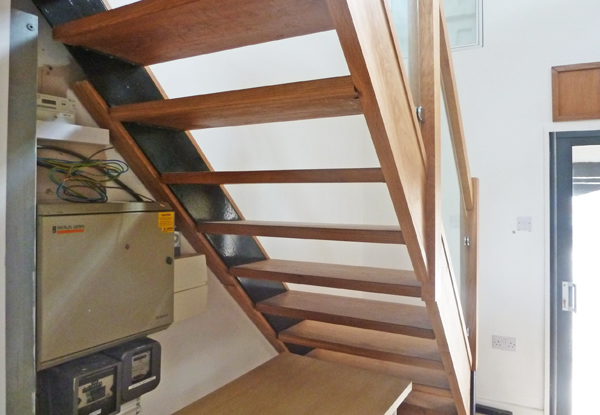
Fortunately, the flexibility of KNX communications media came to the rescue. The owners had incorporated a conventional electrical heating installation which comprised four convector radiator termination points, each individually wired back to a distribution board location under the stairs. This gave us the benefit of having access to a power cable to each radiator point.
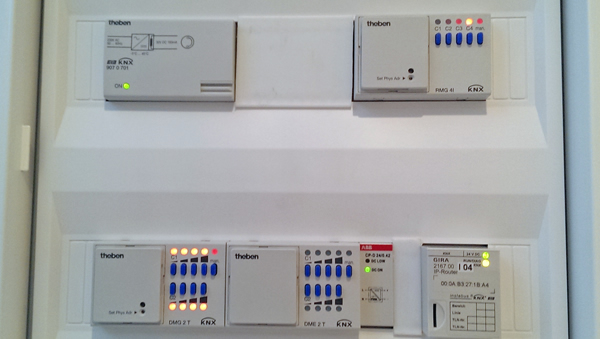
Taking advantage of this, we fitted a multichannel KNX switching actuator, to which we connected each radiator point as a separate channel. In due course, this will allow us to have individual control over each radiator point. This is a major step forward from the system as originally installed, which was based on simple panel heaters fitted with a basic timeclock and power level adjustment.
We will be using the same panel heaters, but setting their local controls to be always on and at full power, and using the KNX system to regulate the operation of the panel heaters to give optimum room temperature control. Ultimately, we will be able to establish a control algorithm that optimises energy usage.
Another benefit was that the KNX actuator type we used incorporates current monitoring on a per-channel basis. This means that we will eventually be able to use these to gather data on the energy consumption of the heating. We will examine this further in Part 3.
KNX over IP
The challenge was to incorporate this new KNX switching actuator for the heater panels into the existing lighting control KNX system. Since we were not able to thread a KNX cable, we would have to find another way. After careful consideration, we decided to make use of KNX/IP.
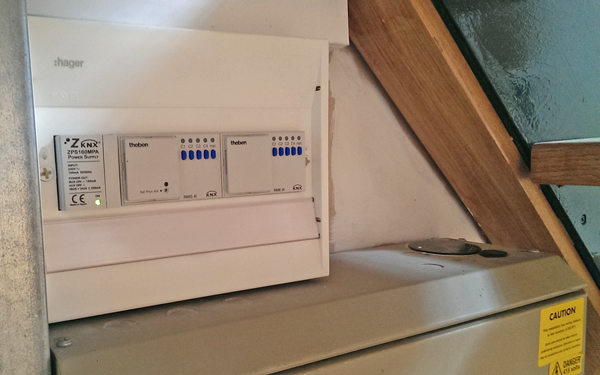
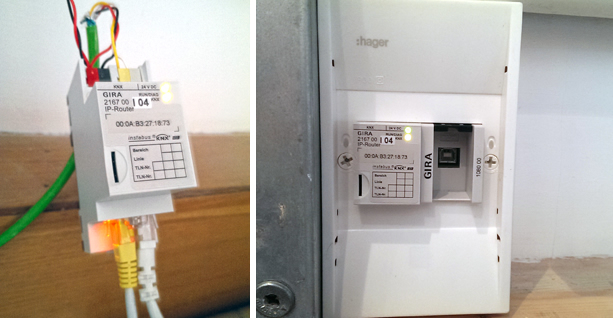
The new actuator was installed and set up with its own KNX power supply and line segment, in effect creating a separate KNX installation for just this actuator. The building now had two KNX lines in separate locations, one for the lighting control panel with its push-button sensor plate (from phase 1) and a second for heating control via the new actuator. We equipped each of these lines with KNX/IP routers that would, in principle, allow us to create a single KNX system using Ethernet as the backbone, connecting both parts to each other.

Although we could still not establish a wired Ethernet infrastructure because of the difficulties of cabling from one side of the building to the other, we could easily overcome this by using Ethernet over powerline plug-top adaptors to make use of the mains wiring in the building for carrying Ethernet communications between the two KNX lines. With this in place, it was a simple matter of setting up the appropriate addressing for each of the KNX/IP routers, both on the Ethernet side and on the KNX side, using ETS. We now had a single KNX system in the building!
KNX Wireless
The challenges were not over. We still had to establish a method of measuring room temperature so that the heating system could be properly controlled. Once again, we were in the position of being unable to thread a cable. Unfortunately, in this case, KNX/IP could not help. The solution we devised was a wireless temperature sensor that we linked into the KNX system via a KNX/Wireless gateway.
With this in place and set up quickly using ETS, we were able to not only monitor temperature, but place the temperature sensor at the most suitable position in the building, being unencumbered by the constraints of cabling.
The result is that we now have a fully-integrated control scheme for both the lighting and the heating in the building. This will give us the opportunity to set up higher-level management and automation functions that we will explore in Part 3.
Ben Lewis is Principal of KNX Consultants, a specialist in KNX control and automation offering training, mentoring, design and project work on behalf of corporate, professional and private clients. KNX Consultants is also a member of KNX UK Association.
You are welcome to comment on this article. See below.