 By Nikita Thompson, Ivory Egg.
Up here in the Northern Hemisphere, the days may be getting warmer, but we are still waking up to the odd cold and frosty morning, and so may possibly rely on our heating to get us out of bed. Last month, we covered getting the temperature on the bus and the three regulation types. This month, we continue with the four standard modes used with KNX thermostats, and two-stage heating and cooling.
Last month we went over what can be used to read the temperature and what types of regulation are used with KNX. As with most KNX applications, there are a number of ways to achieve the same result. This month we will go further into the control within the thermostats, the modes they use and two-stage control. These modes can be triggered from a number of devices, be it the thermostat itself, a touchpanel, a scene, or timers, as suggested below.
KNX Heating Modes
There are four modes used in KNX for heating and cooling control:
• Comfort
• Standby
• Night
• Frost
These modes change the set temperature by a one-byte value (often referred to as the RTR object). In some older devices, you will find that each mode is activated via a one-bit trigger, and the device will stay in the last triggered mode.
On some controllers there is an extra object for a higher priority mode setting, which will override the normal operation. Setting the mode to Auto (0) deactivates this override and returns control to the standard RTR object, which can be particularly useful when setting the house to Standby mode.
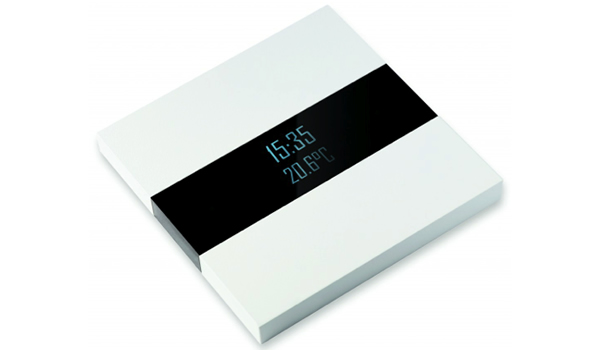
These modes are fairly self-explanatory: Comfort is used during normal occupancy of the home, whilst Night is used when the building’s occupants are asleep. In Night mode, the temperature can be reduced slightly, allowing the home to return to Comfort mode efficiently. Standby (or Away) mode is used when the building is not occupied; the temperature is reduced, but can still adjust back to Comfort mode relatively quickly once the occupants return. Frost mode is used to protect the building whilst it stands empty for long periods of time. It keeps the house at a lower but steady temperature in order to prevent pipes from freezing.

Relative and Absolute Control
There are two ways that the temperature can be set for the above modes. These are relative and absolute.
Relative uses the Comfort temperature as the master and uses a drop back figure to work out and set the Night and Standby values. This enables the user to set all of the above modes from one temperature. However, the Frost mode has a set temperature that does not adjust when the Comfort temperature is changed.

Absolute allows the user to set a specific temperature for each mode. This offers an easier-to-understand scenario, but in reality, it results in a more complicated user interface, as each temperature must be changed, sometimes up to eight times – once each for the four modes, for heating and for cooling.

Dead Band
Whichever option is chosen, a dead band should be considered. Without a dead band there would be a constant struggle between heating and cooling for any slight over-shooting by either. For example, without a dead band, if the temperature is set to twenty-two degrees, the heating will get to temperature and cooling will activate as soon as the room’s temperature rises beyond this set point.
In cooling mode, using relative control, there is an amount given for the dead band, and an amount for the offset for Standby and Night. However, using absolute control, the dead band is a specific value for the Comfort mode set point.

Timers
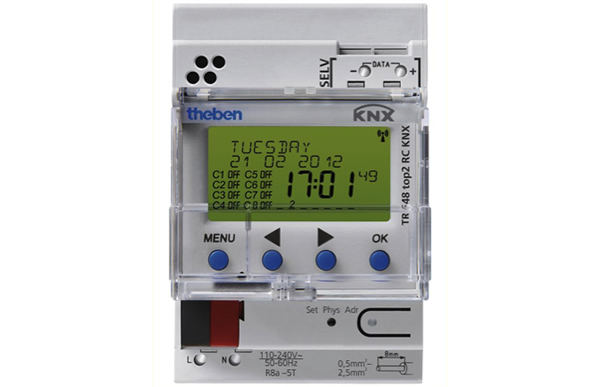
The easiest way for an end-user to control their set temperature is via timers. Often these are built into thermostats, but there are a number of ways to easily adjust the varying mode times. Depending on the installation, a dedicated heating timer may be required, and there are DIN rail timers available which allow times to be set either via a small screen, the bus or both.
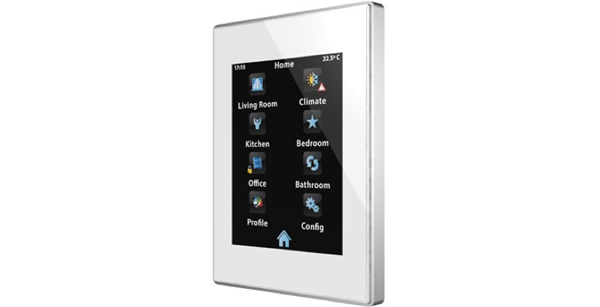
There are also a number of small touchscreens that will work as a dedicated heating/cooling timer to give the end-user a central place of control. Indeed in many instances there will already be a device in the installation that offers a high level of logic and visualisation, to which the heating/cooling timers can be added.
Two-stage Heating and Cooling
The majority of thermostats will allow you to add an additional stage of heating and cooling, or both. Two-stage heating gives a second source of heat when the primary source of heat takes a while to fill the room. This can be especially useful when the building’s occupants return back to Comfort mode from having been away. Although rarely used in the UK, there is an additional option for a second cooling mode for similar situations in warmer climates.
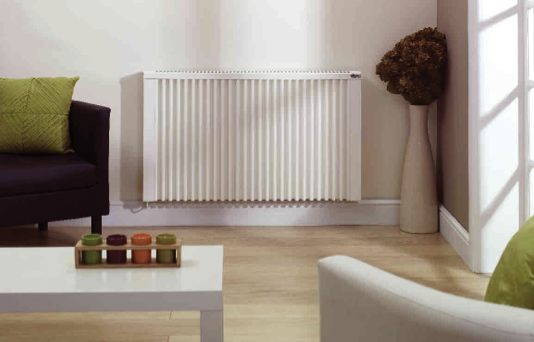
Similarly to the change between heating and cooling mode, there should be an offset before the additional stage of heating or cooling can be activated. This deferential can be set in the parameters once the additional stage is activated. The differential is usually set around two degrees, so that if there is a difference of two degrees, the additional heating or cooling source will be activated.
Conclusion
Heating and cooling can be controlled easily and efficiently with KNX, and KNX offers the option to expand control beyond what has previously been available. Although the different heating modes are a new concept for those who have not experienced heating/cooling control previously, they are easy to use for both the integrator and end-user.
In next month’s article, we will look at under-floor heating (UHF) control.
Nikita Thompson is the Technical Sales Manager at Ivory Egg (UK) Ltd, a supplier of leading KNX products and provider of KNX training courses. Ivory Egg runs a number of training courses on how to achieve heating/cooling control with KNX.


